Path
From photo to report, without detours.
One thread: document a step before it is covered, then explain it clearly.
01
Take the right photos
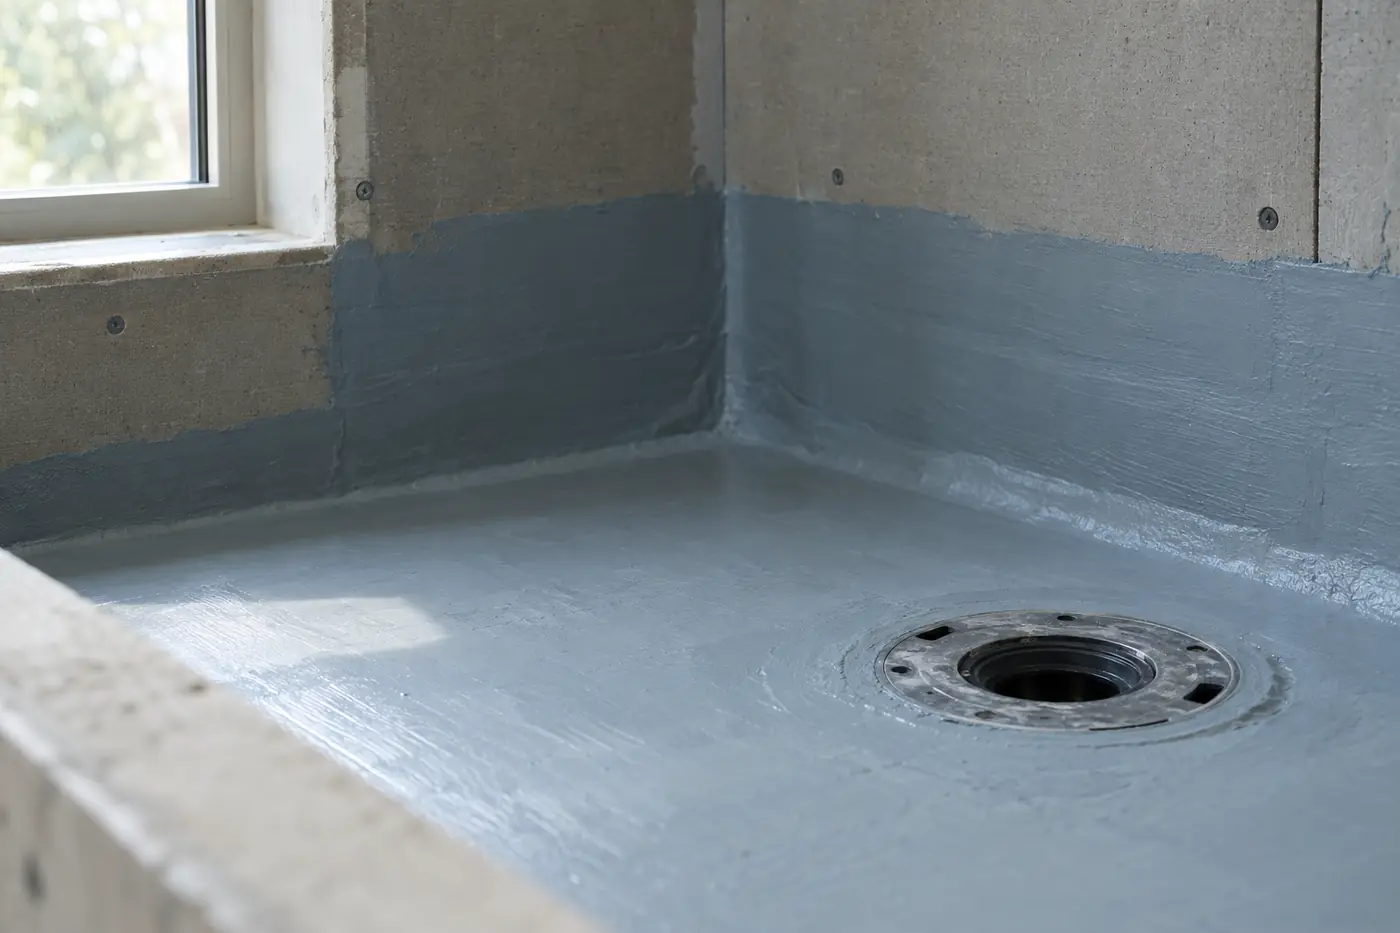
The guide says what to photograph for a shower before tile: membrane, corners, drain, details still visible.
A blurry or too-dark photo is flagged as unusable. We do not invent what does not appear.
02
Place the step
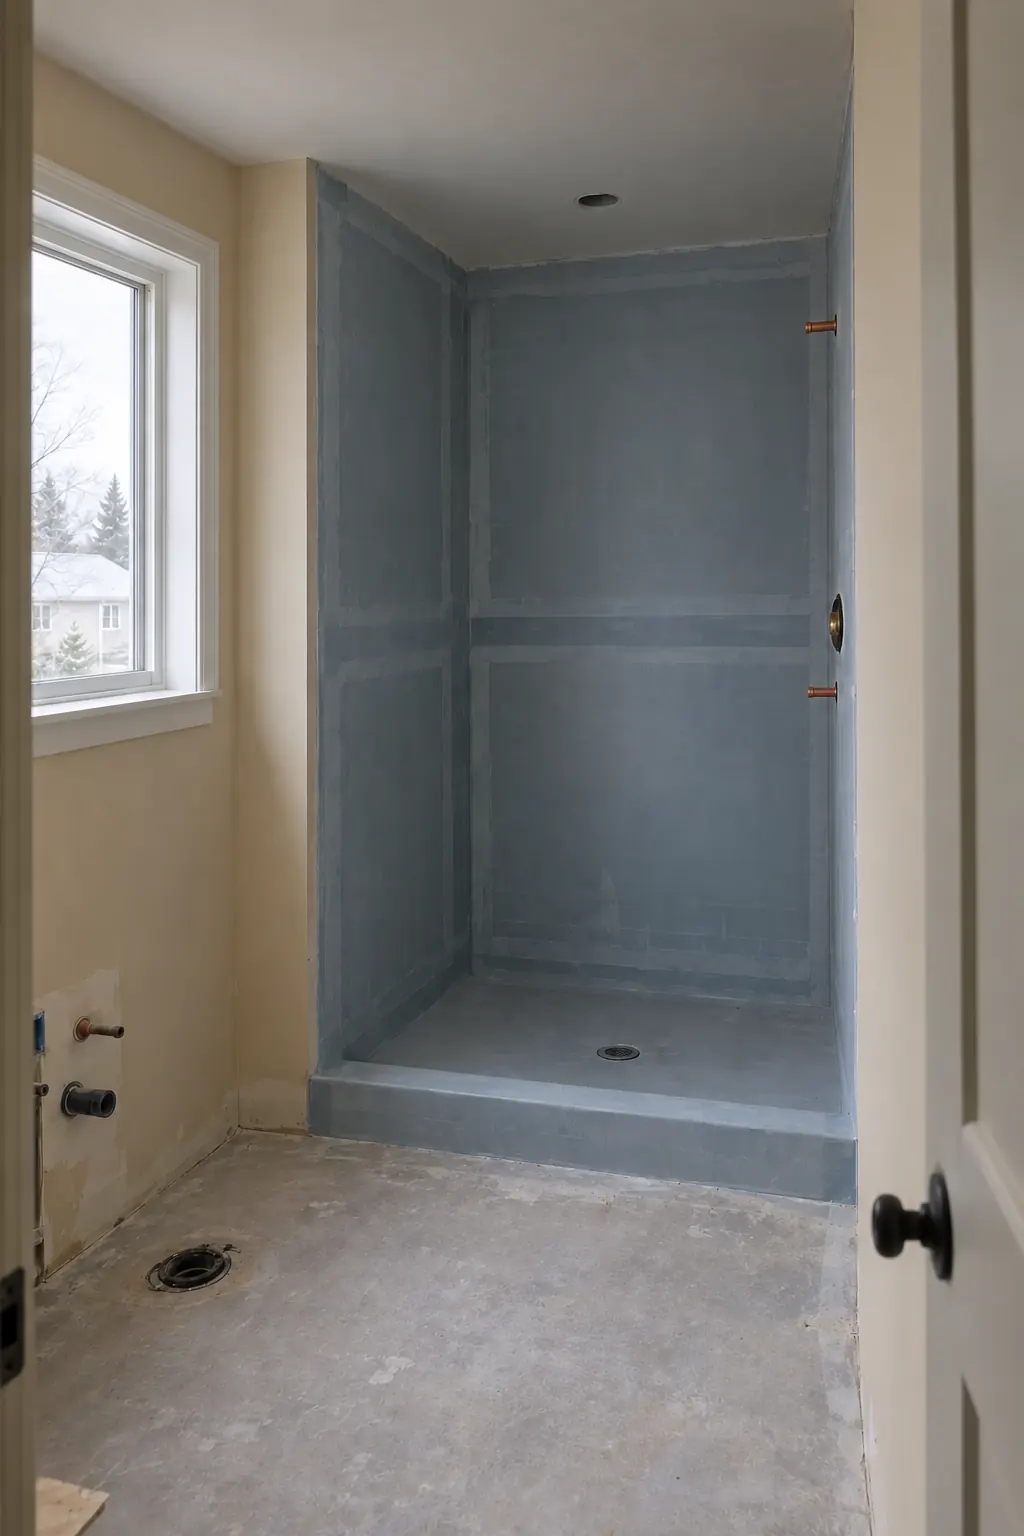
You choose the type of work and the moment. The first module is deliberately narrow: showers and tub-showers, before ceramic tile.
Other modules — windows, roofing, insulation — can be added later on the same base.
03
Read a cautious explanation
The text describes what is visible. It distinguishes an item to verify, an insufficient photo, and a documented good practice.
It does not say “compliant” or “non-compliant”. It does not assign fault to the contractor.

04
Share with the client
The homeowner receives a link or a PDF. They see the photos, understand the step, and keep a record of the work before finishing.
If you already work in a CRM, that link can go back into the client record. RénosVue does not replace your job software.
RénosVue is not a building inspection, an RBQ certification, or an engineer’s or architect’s opinion. For regulatory compliance, go to the competent professionals and authorities.